How to Prep a House for Exterior Painting – A Step-by-Step Guide
There’s a reason professional painters spend nearly as much time on prep as they do on actual painting. The coat of paint is only as strong as what it’s sitting on – and a surface that isn’t properly cleaned, repaired, and primed will reject that paint within a few years regardless of how much the paint itself cost. This guide walks through every paint prep step a professional crew runs through before exterior house painting begins, so you know what the process should look like – whether you’re doing it yourself or hiring someone else to do it right.
Why Prep Work Makes or Breaks an Exterior Paint Job
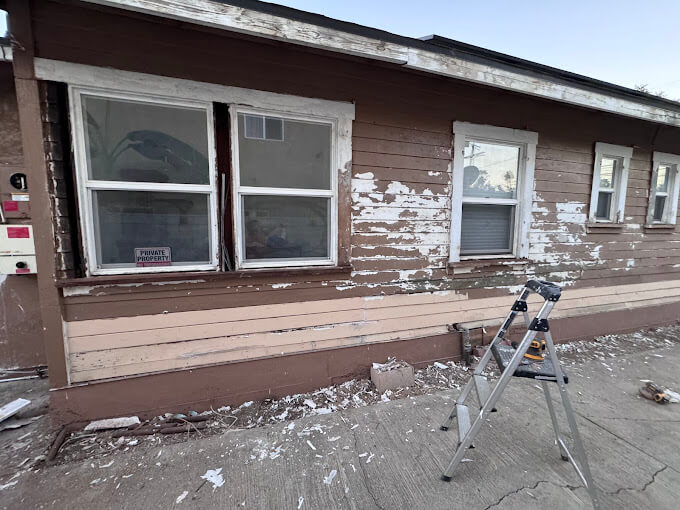
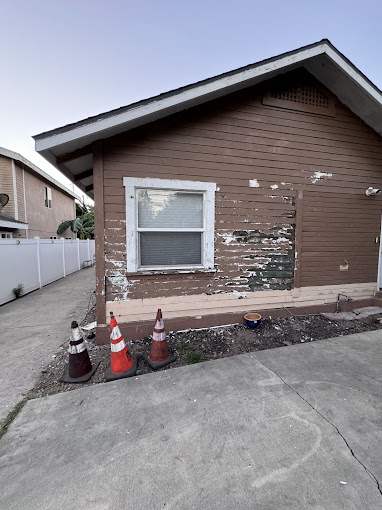
Apply fresh paint over a dirty, cracked, or peeling surface and here’s what happens: the paint bonds poorly, moisture gets underneath, and within two or three years you’re looking at paint peeling and blistering that shouldn’t show up for eight or ten. That’s not a paint quality problem. That’s a surface preparation for painting problem. Every single time.
Professional painters know that paint adhesion starts on the ground, not with the brush. On a standard exterior house painting project in Los Angeles, a good crew will spend 40-50% of total project time on house exterior prep alone. That number surprises a lot of homeowners. It shouldn’t. The paint job lasts because of what happens before the paint.
Step-by-Step: How to Prepare a House Exterior for Painting
Step 1 – Inspect the Surface
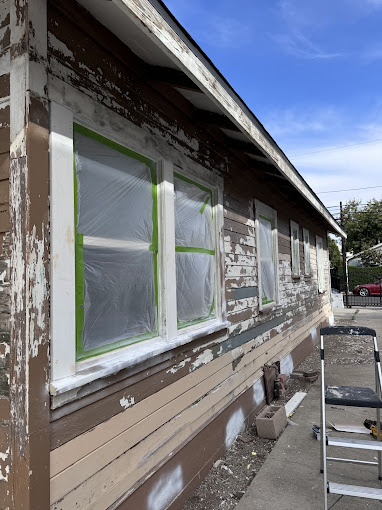
Walk the entire perimeter before doing anything else. Look for peeling paint, cracks in the siding, damaged caulk, rotting wood sections, and any signs of mold or mildew on the surface. Write it down – a quick list means nothing gets missed when you’re halfway up a ladder later. One important note: homes built before 1978 may contain lead paint. If you’re dealing with an older property, test before you scrape. Lead paint disturbed without proper precautions is a genuine health hazard, and in Los Angeles, certified contractors are required for remediation work.
Step 2 – Pressure Wash the Exterior
This step is non-negotiable. Dirt, dust, mold, and mildew sitting on the surface will prevent new paint from bonding – a clean surface isn’t optional, it’s structural. Pressure wash before painting working from top to bottom with overlapping strokes, keeping the nozzle moving to avoid damaging siding or trim. On stucco, which is common across Los Angeles homes, keep the pressure moderate – too high and you’ll open hairline cracks rather than clean them. After washing, the surface needs 24-48 hours to dry completely. Paint applied over damp siding traps moisture inside the wall and starts peeling almost immediately.
Step 3 – Scrape Off Loose and Peeling Paint
Once the surface is clean and dry, go over every area with a paint scraper. The goal isn’t to strip everything – just to remove anything that’s loose, bubbling, or flaking. On wood siding, scrape with the grain. Cutting across it tears the wood fibers and creates a rougher surface that’s harder to prime evenly. Stubborn spots and horizontal surfaces like windowsills respond better to a wire brush after the initial scraping. Peeling paint left underneath a new coat will take the new layer with it when it goes.
Step 4 – Sand Rough Edges Smooth
After scraping, the transition between scraped areas and intact old paint leaves a raised edge. Sand those transitions smooth with medium-grit sandpaper so the new coat lies flat across the surface without leaving a visible ridge line. For trim and doors that will get a semi-gloss finish, switch to fine-grit for the final pass – it makes a visible difference in how clean the finish looks up close.
Step 5 – Repair Cracks, Holes, and Damaged Areas
Fill any cracks or holes with an exterior-grade patching compound. On weathered wood, replace any sections that are soft or structurally compromised – paint won’t fix rot, it’ll just hide it until the problem gets worse. Let all repairs cure fully before priming. Rushing this step is one of the most common mistakes on DIY exterior paint jobs.
Step 6 – Caulk Seams and Joints
Run a bead of paintable exterior caulk before painting along every seam and gap – around windows, doors, trim, and wherever different materials meet. Caulk seals out moisture, and moisture is what causes future cracking and paint peeling at the edges. Use a siliconized acrylic caulk rated for exterior use, not interior bathroom caulk. Let it cure per the manufacturer’s instructions before painting over it.
Step 7 – Prime Bare Wood and Problem Areas
Any surface that’s been scraped down to bare wood needs exterior primer before paint goes on. Without it, raw wood absorbs paint unevenly – you’ll see it immediately in the finish, and it’ll wear faster in those spots. How to prime exterior surfaces properly: two thin coats are better than one heavy one. If you’re switching from oil-based to latex paint on an older house, prime the entire exterior – not just the bare spots.
Step 8 – Mask and Protect Surroundings
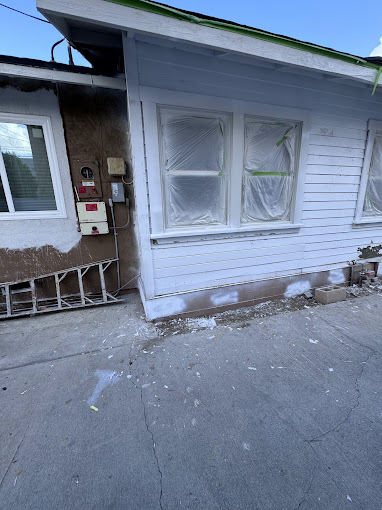
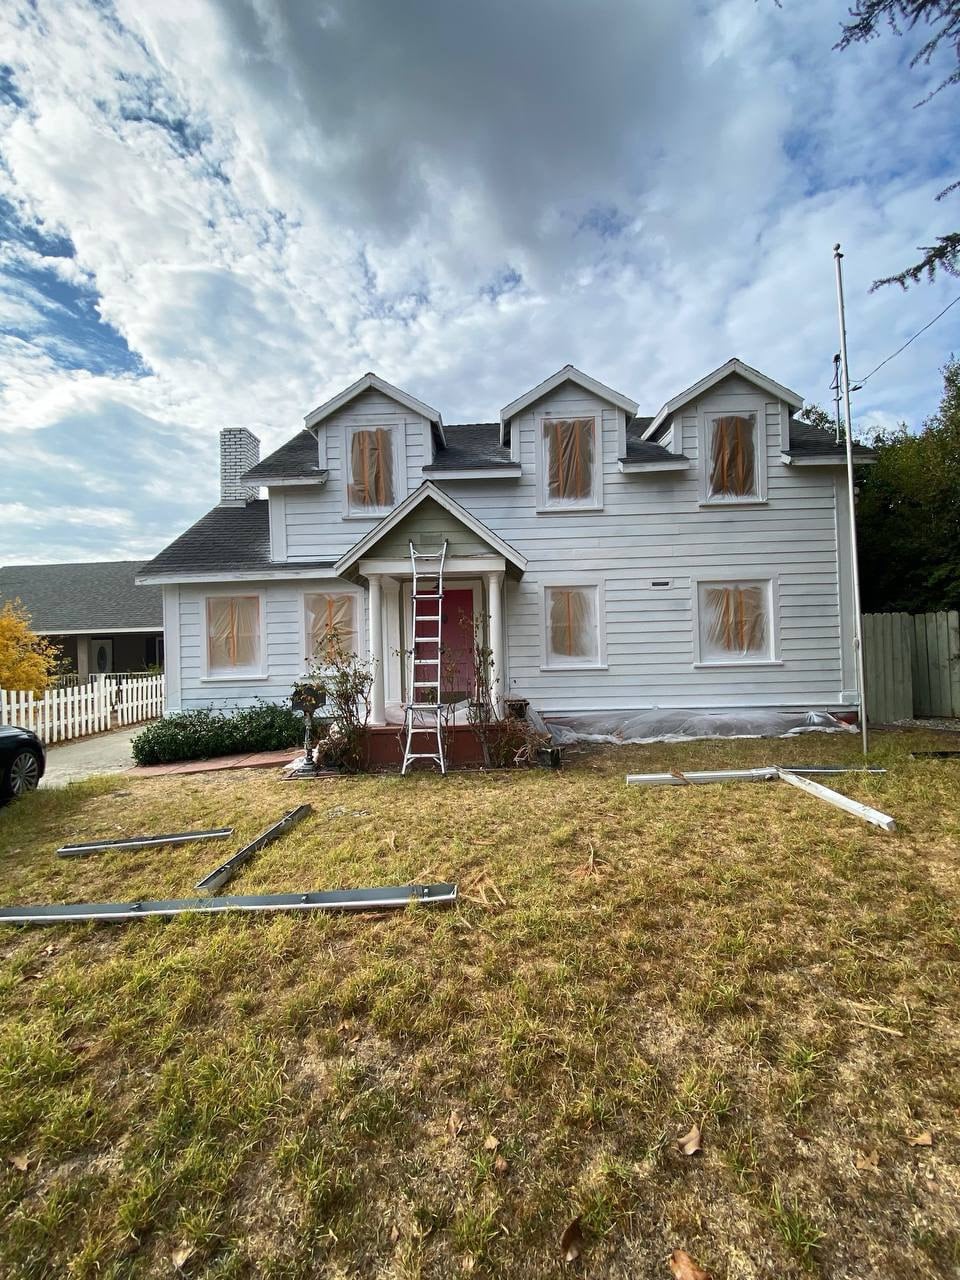
Cover windows with painter’s plastic and tape the edges clean with painter’s tape. Lay a drop cloth over plants, landscaping, and any hardscape close to the walls. Remove or tape off exterior fixtures, hose bibs, and light fittings. This step takes less than an hour and saves most of the cleanup time at the end of the job. Skip it and you’ll spend twice as long scraping paint off your window glass.
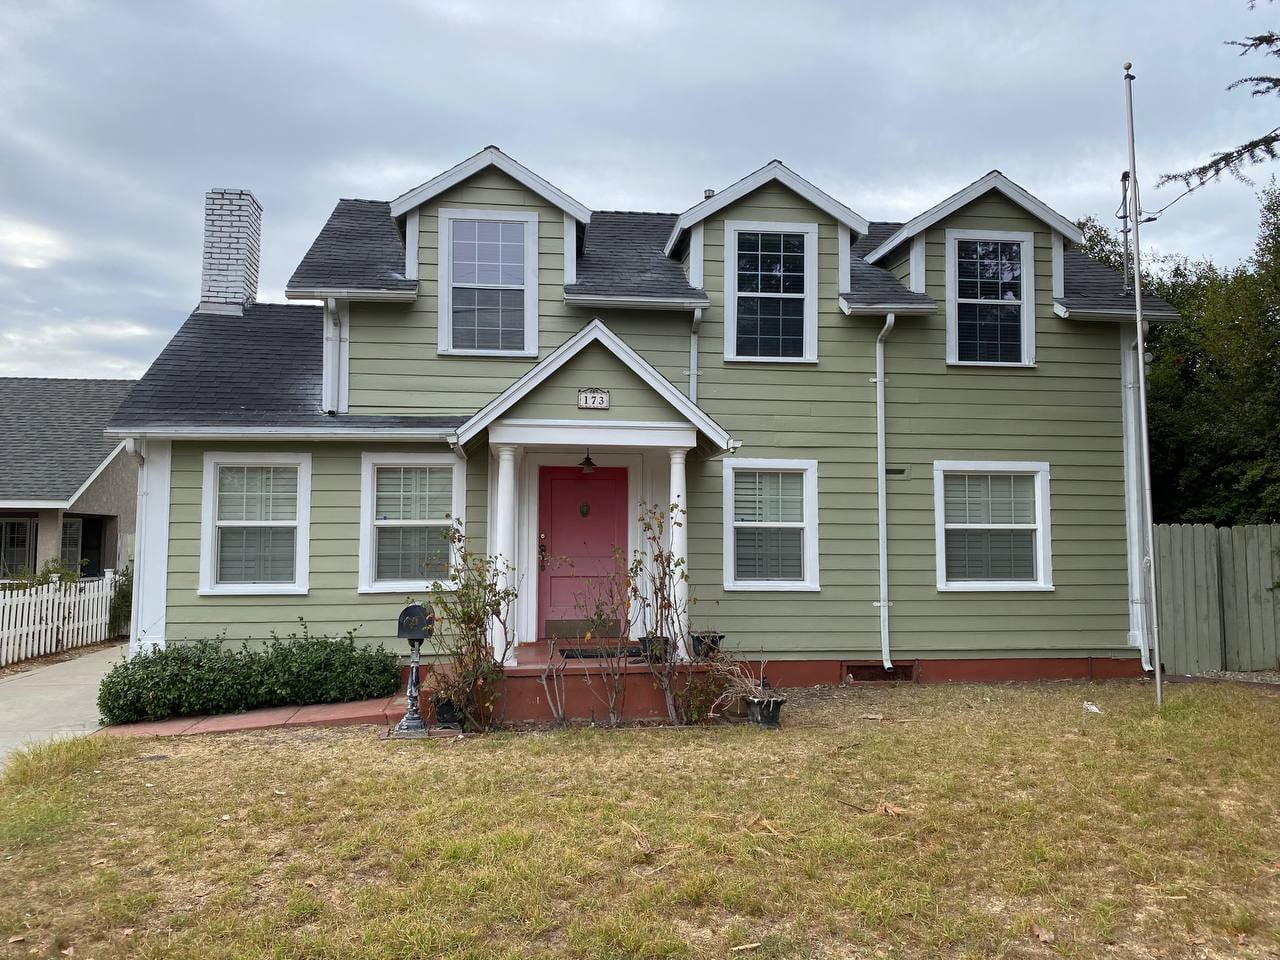
In Los Angeles, a lot of homeowners want to skip the prep and get straight to the color. I get it – the fun part is seeing the transformation. But the prep is where the job is actually won or lost. We’ve repainted houses that were done by someone else two years earlier because the surface wasn’t properly cleaned and primed. Good prep means you won’t need to call us again for 8 to 10 years.
— Mike Rarov, founder of Mr. Rarov Painting, serving the Greater LA area since 2014
If you’d rather not spend a weekend on a ladder with a scraper, our team is happy to give you a free estimate on what a proper prep-to-finish exterior paint job would look like for your home.
When to Paint – Weather and Timing Matter in Los Angeles
Even with perfect exterior painting preparation, the conditions on the day of application matter. The ideal temperature range for exterior painting Los Angeles crews work within is 50-85°F – paint applied in temperatures outside that range won’t cure correctly, regardless of how well the surface was prepped. Summer midday heat on south-facing stucco walls in LA can push surface temperatures well above 90°F, which causes the paint to dry too fast and leaves brush marks. Morning is typically the best time to start. If rain is in the forecast within 24 hours, hold off. Hiring professional painters through Exterior Painting Services in Los Angeles means scheduling and conditions are managed as part of the job – one less thing to track.
FAQ – House Prep for Exterior Painting
How long does it take to prep a house exterior before painting?
For an average single-family home in Los Angeles, exterior painting preparation typically takes one to two full days before a single coat of paint goes on. Larger homes, extensive repairs, or significant mold remediation can add time. On most professional jobs, prep runs 40-50% of the total project timeline – that’s not a mistake, it’s the job done right.
Do I need to pressure wash before painting if the house looks clean?
Yes. What looks clean from the ground often has a layer of dust, airborne grime, and mildew on the surface that’s invisible until you start washing. Paint applied over that layer won’t bond correctly. Pressure wash before painting is a standard step on every exterior paint job – not an optional upgrade.
Can I paint over peeling paint without scraping it off first?
No. Painting over old paint that’s already failing means the new coat will peel along with it. Scrape loose paint down to a stable surface first, sand the edges smooth, and prime bare areas before painting. Skipping this step is the most common reason exterior paint jobs in 2026 still fail within two or three years.
Do I need primer if I’m painting over existing paint?
Not always over the entire house – but any area where you’ve scraped down to bare wood or siding needs exterior primer before the finish coat. If you’re changing from oil-based to latex paint, prime everything. If the existing paint is in reasonable condition and you’re staying with the same paint type, spot-priming problem areas is usually sufficient.
How long should I wait after pressure washing before painting?
At minimum 24 hours in dry conditions, and 48 hours if the weather was humid or the surface absorbed a lot of water. On stucco, which holds moisture longer than wood siding, 48 hours is the safer call. If in doubt, run your hand across the surface – it should feel completely dry, not cool to the touch.
Proper prep takes time. There’s no shortcut that doesn’t come back around as a problem two years later. Every exterior paint job Mr. Rarov Painting takes on runs through the full sequence described here – no steps skipped, no surface left unprimed. If you’re thinking about repainting your home’s exterior, our House Painting in Los Angeles team is ready to walk the property with you and put together a free, no-obligation estimate.
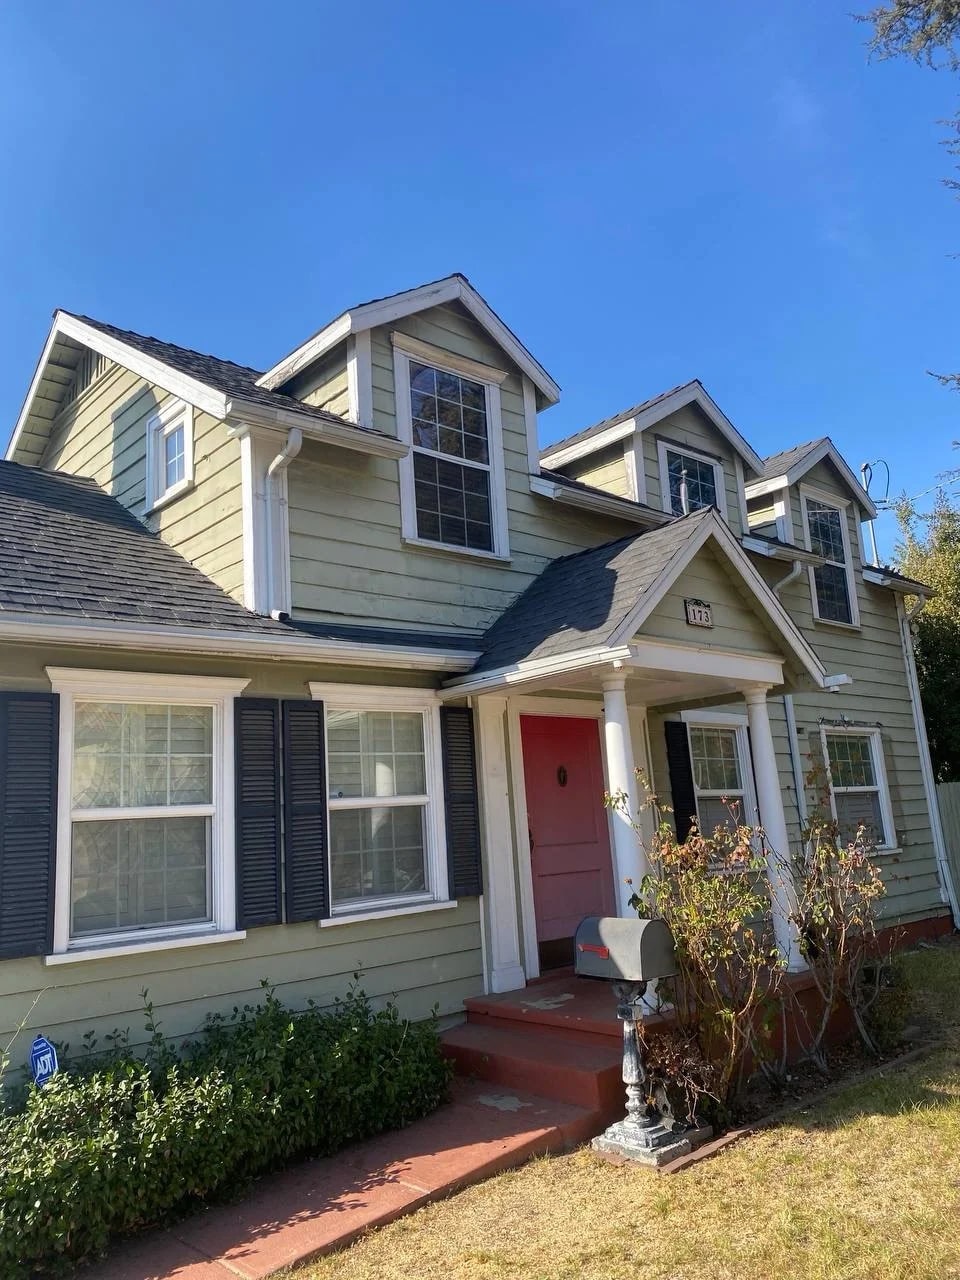
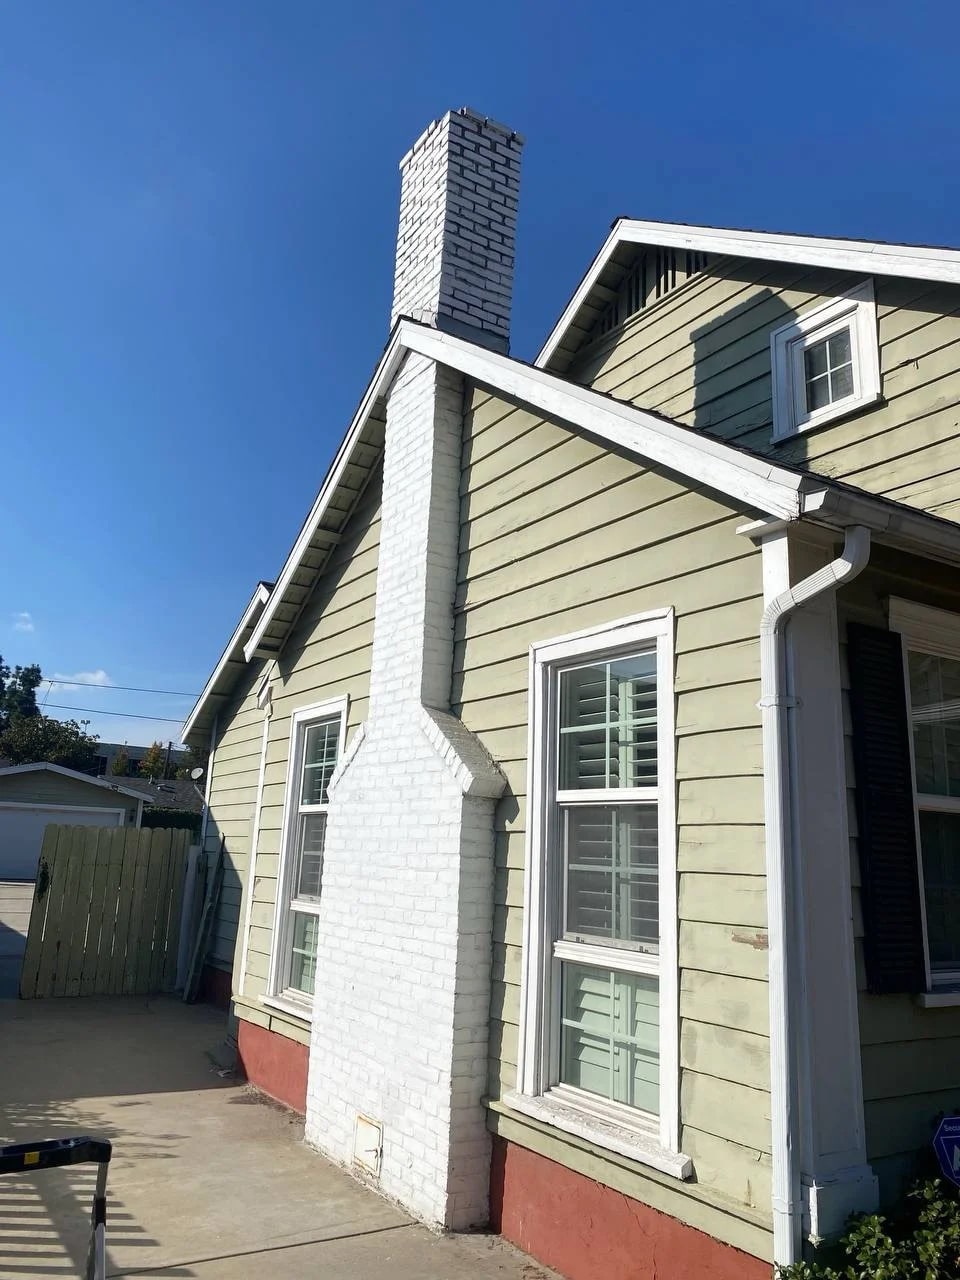
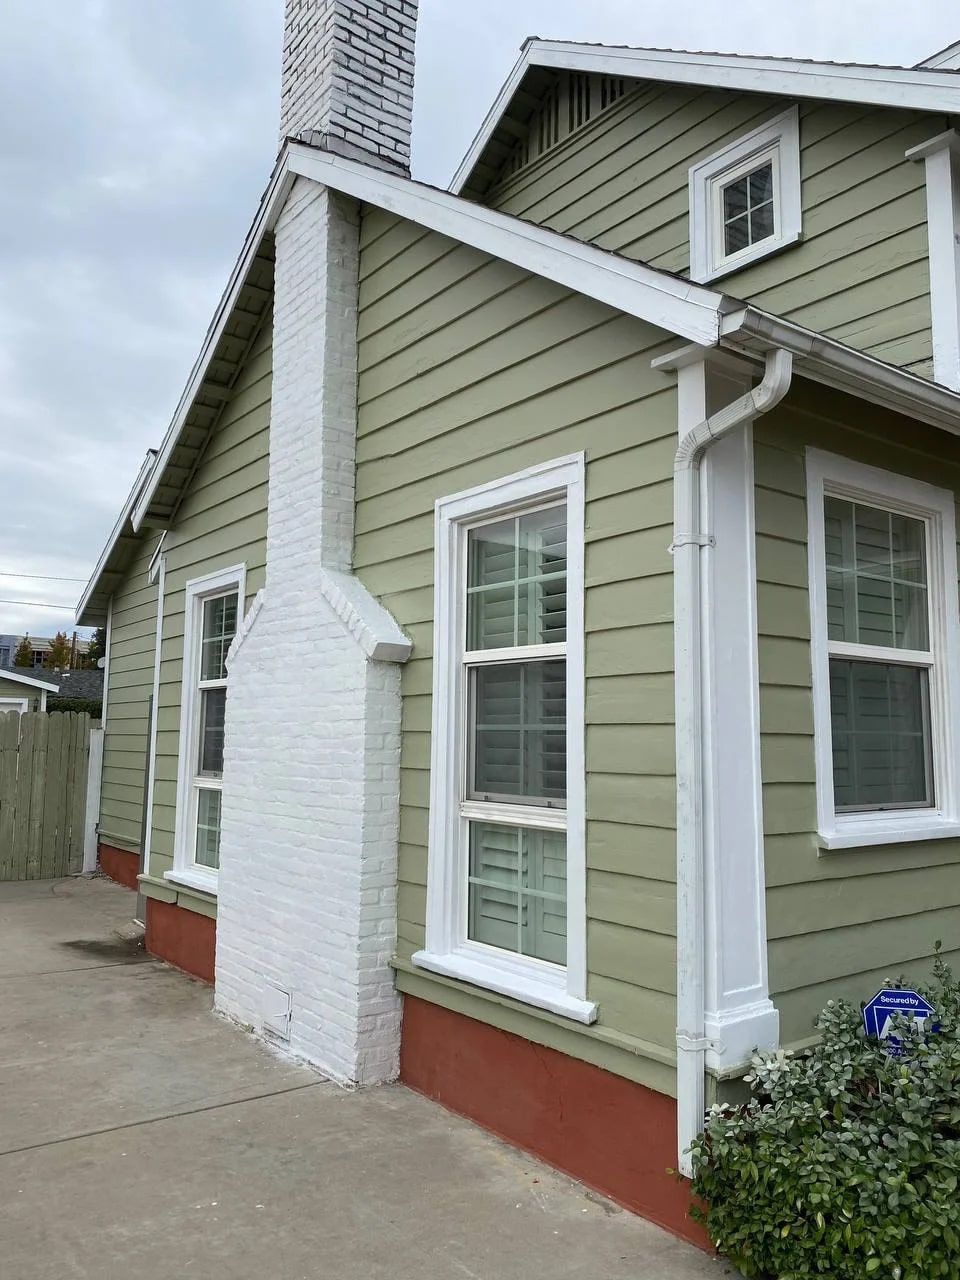
Our Recent Projects
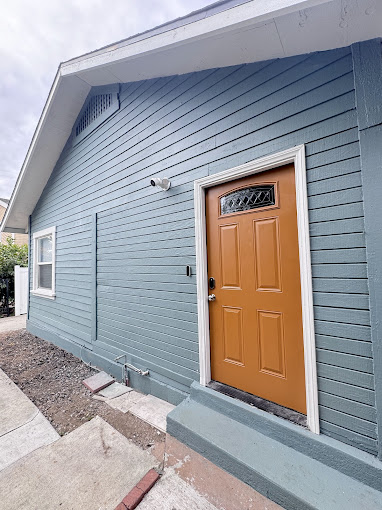
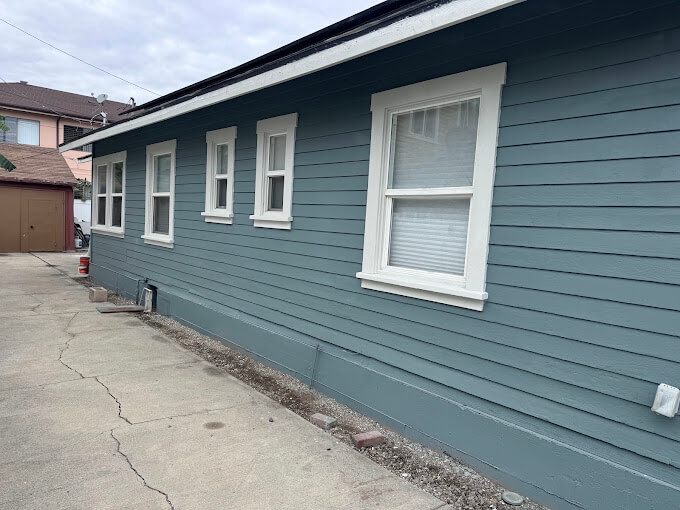
Explore our portfolio of completed painting projects. Each project showcases our commitment to quality craftsmanship, attention to detail, and professional results. Browse through our gallery to see the transformations we’ve created for our satisfied clients.